

ScanTransit setup guide
Last updated: 3 August 2026
What you’ll need
- A Mac running macOS Ventura (13.0) or later and can remain on and connected to your local network, with a fixed or reserved IP address (set a DHCP reservation on your router).
- Administrator access to that Mac for the one-time install.
- A Google Workspace or Microsoft 365 mailbox you wish to use to send all scans from.
- Your scanner, copier or multifunction device on the same network.
1. Install ScanTransit
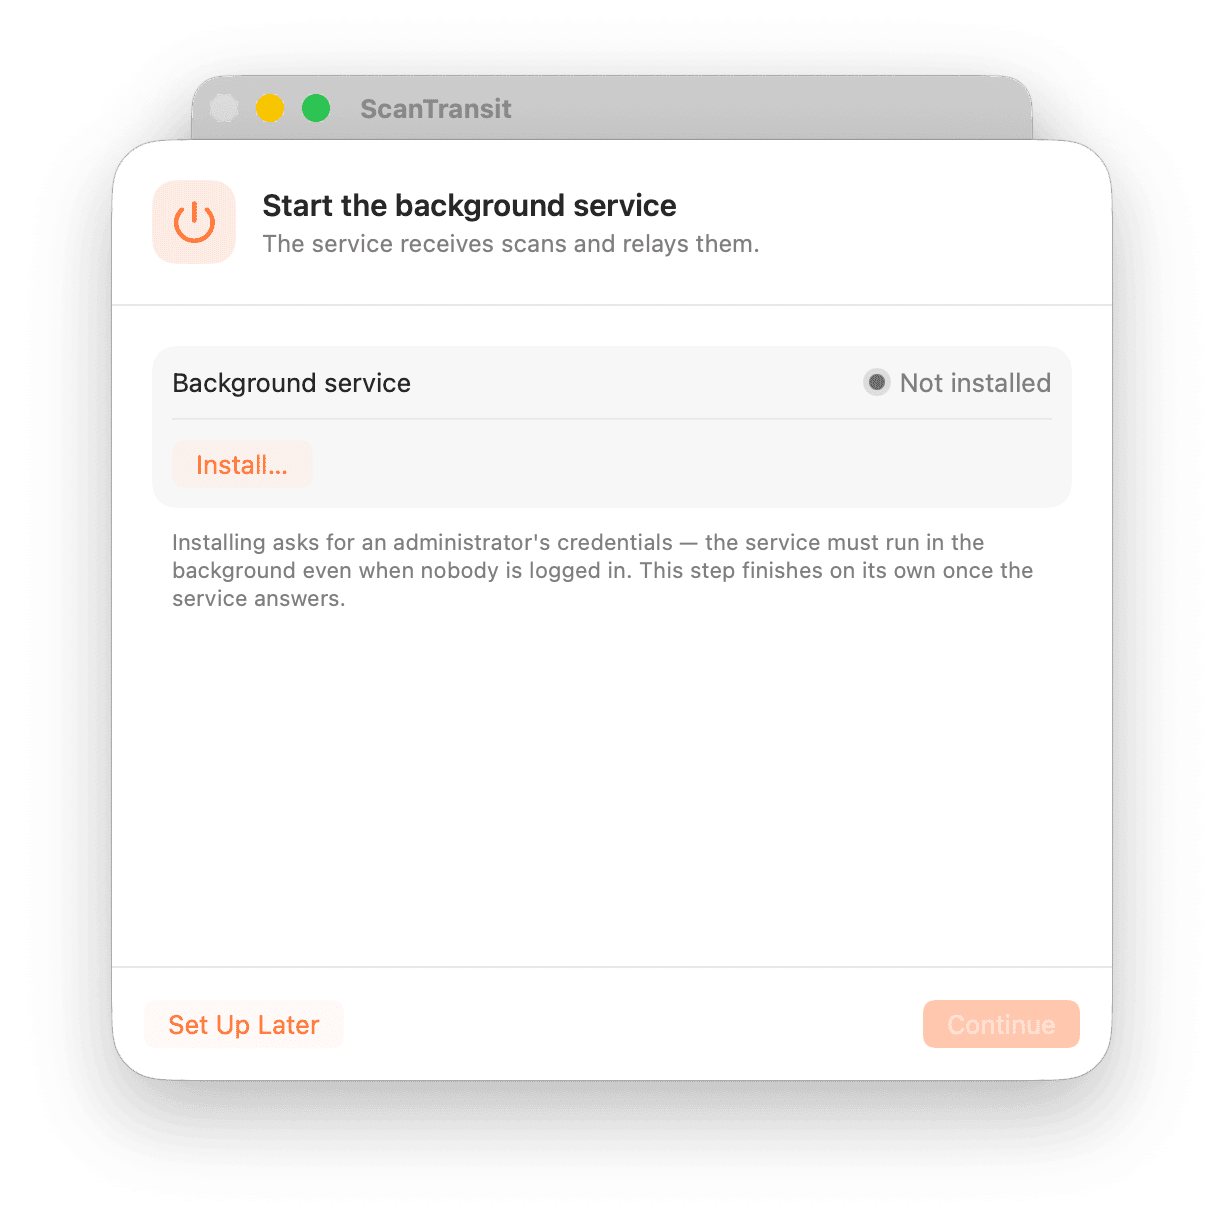
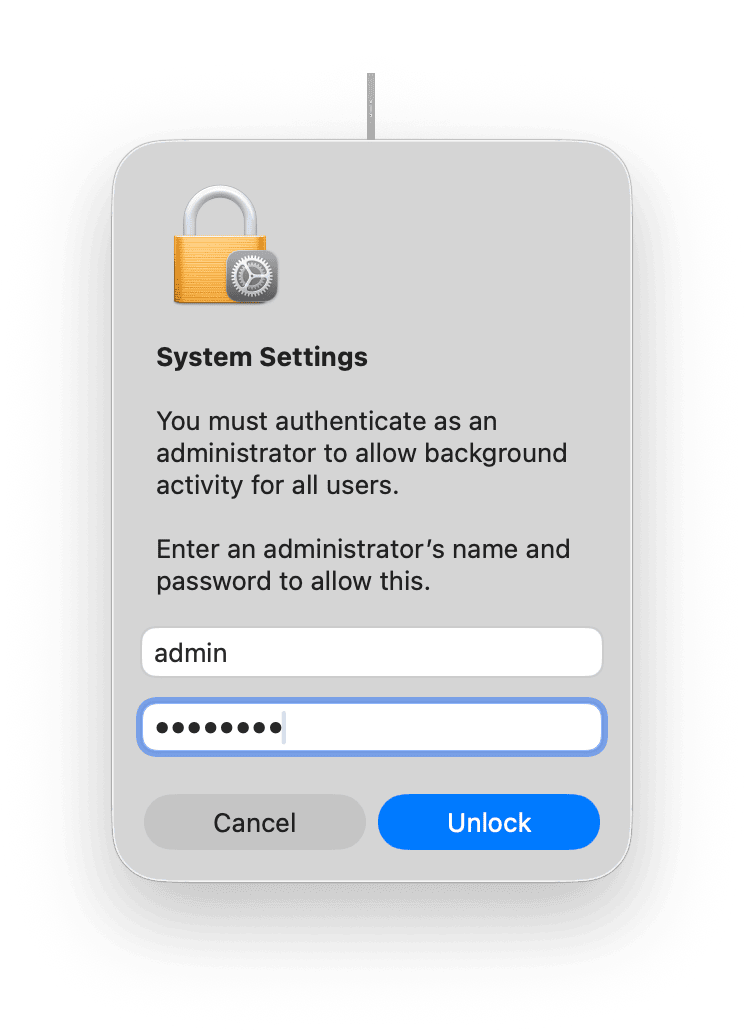
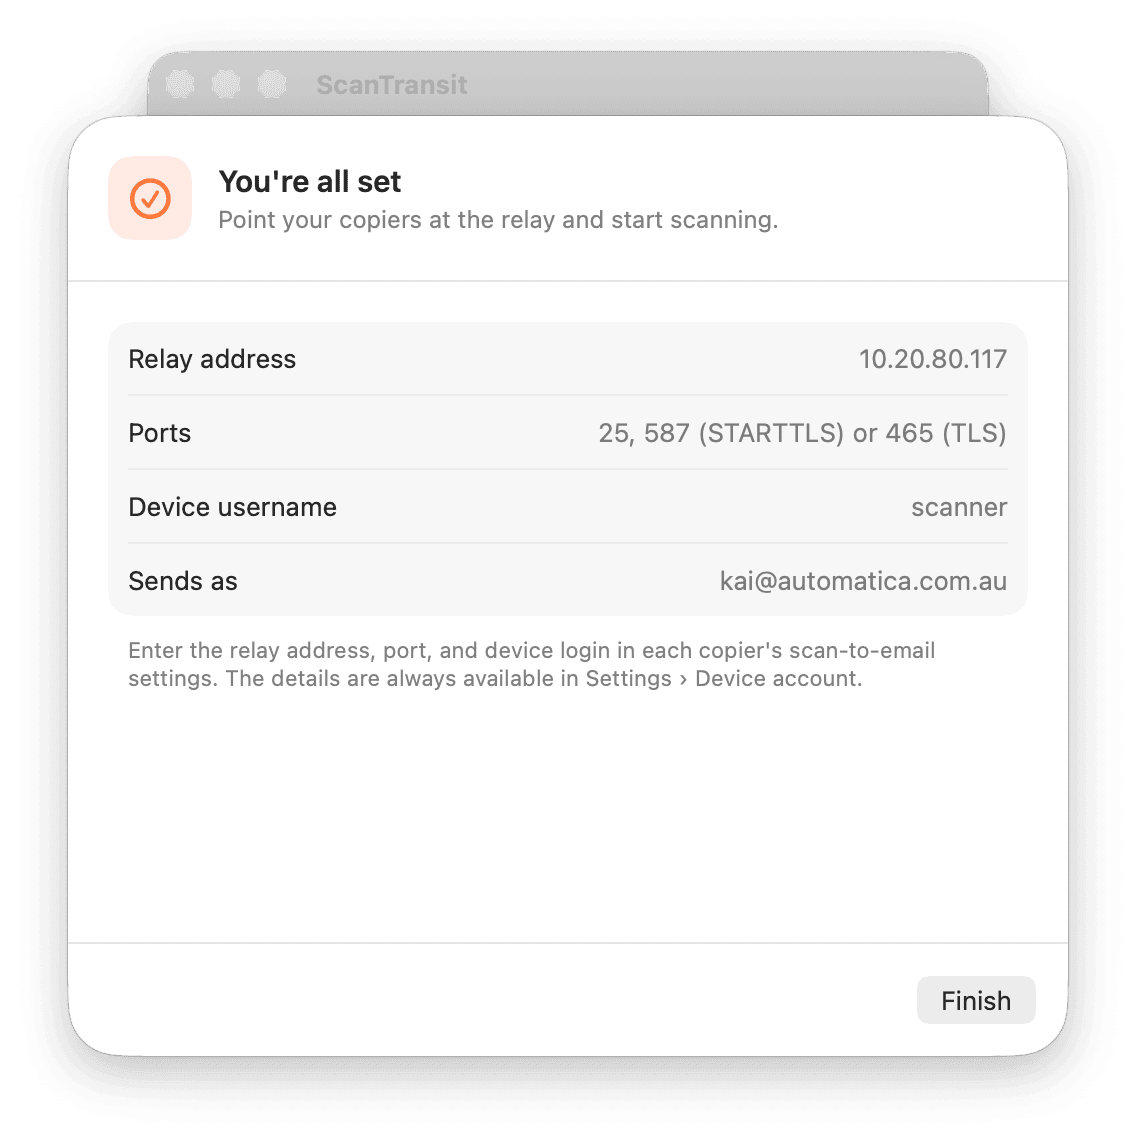
Download the ScanTransit DMG, drag ScanTransit into Applications, then open it. A short setup assistant walks you through the rest of this guide. Click Install to start the background service that receives and relays scans. macOS will ask an administrator to approve it once. After that, ScanTransit works from a standard (non-admin) login too.
2. Sign in to your mailbox
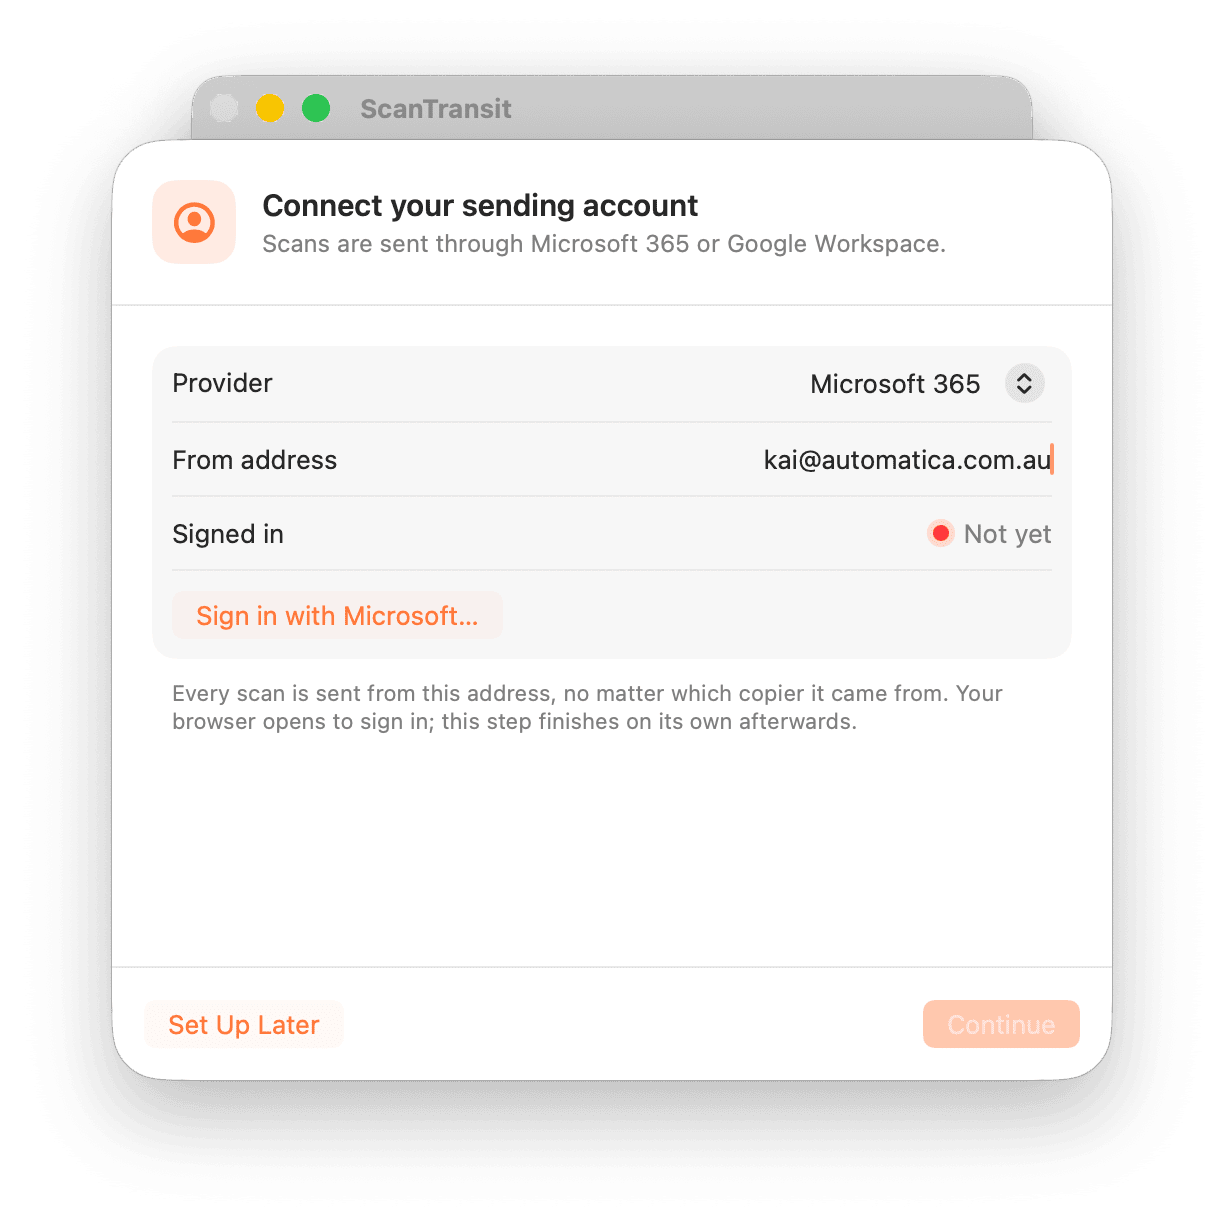
Open Settings, then the Sending account tab. Choose Google Workspace or Microsoft 365, enter the address you want scans sent from, then click Sign in and complete the consent screen in your browser. ScanTransit stores the resulting credentials on your Mac and never asks for your mailbox password directly.
If your Microsoft 365 tenant was created after January 2020, ask your IT administrator to enable authenticated SMTP submission for the sending mailbox first. This is a one-off setting in the Microsoft 365 admin centre, and something we can help with if you’re an Automatica client.
3. Set up the device account
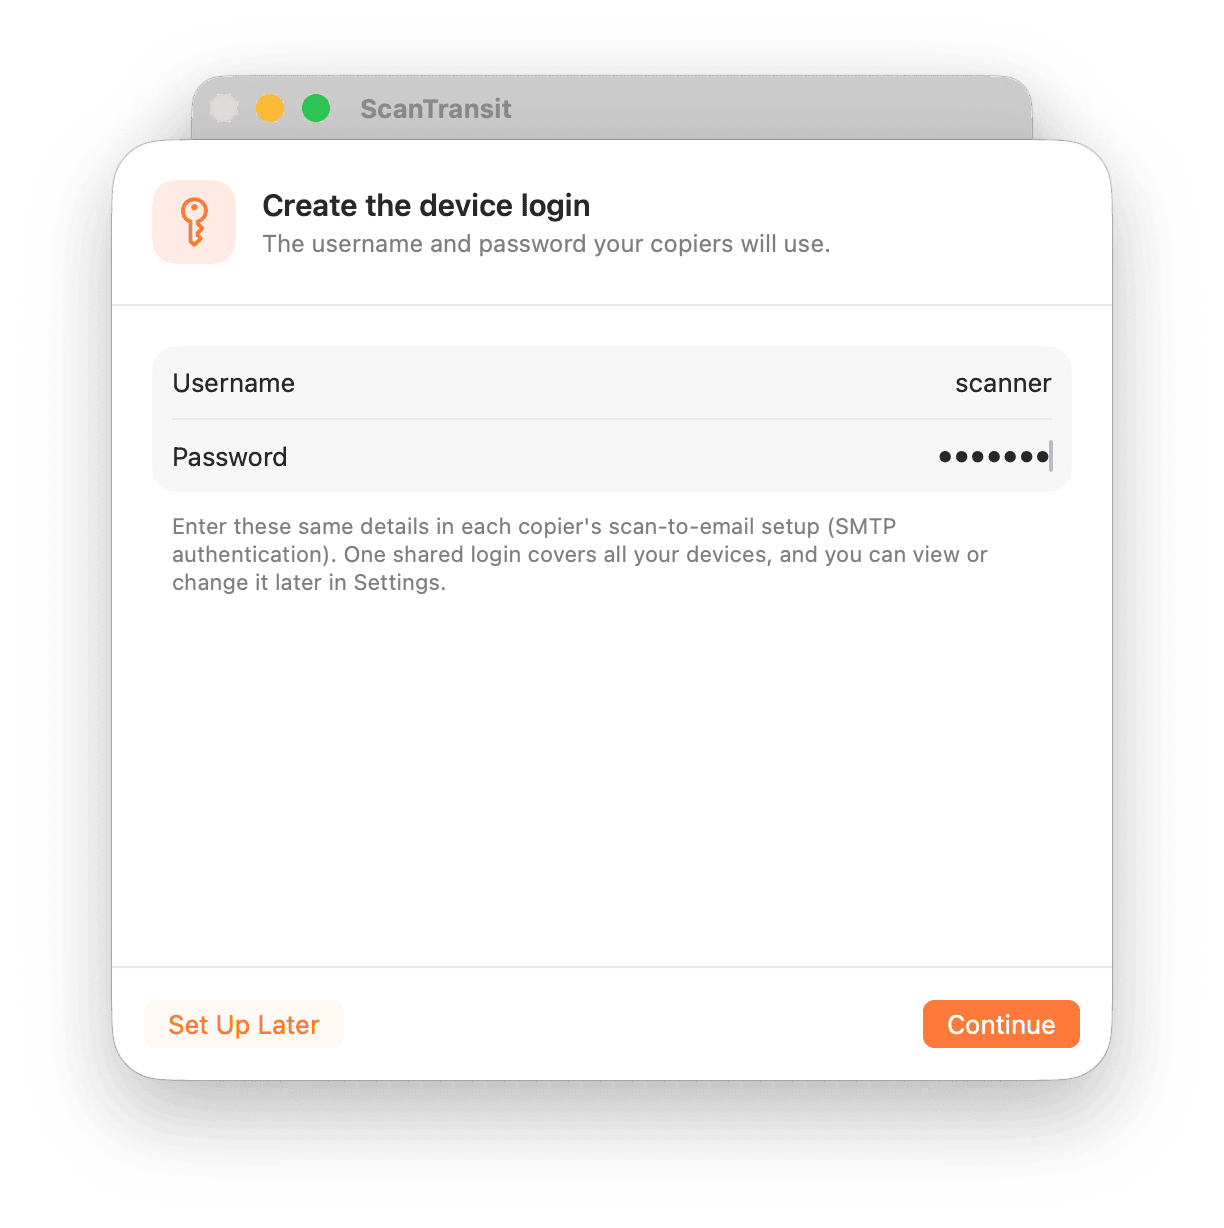
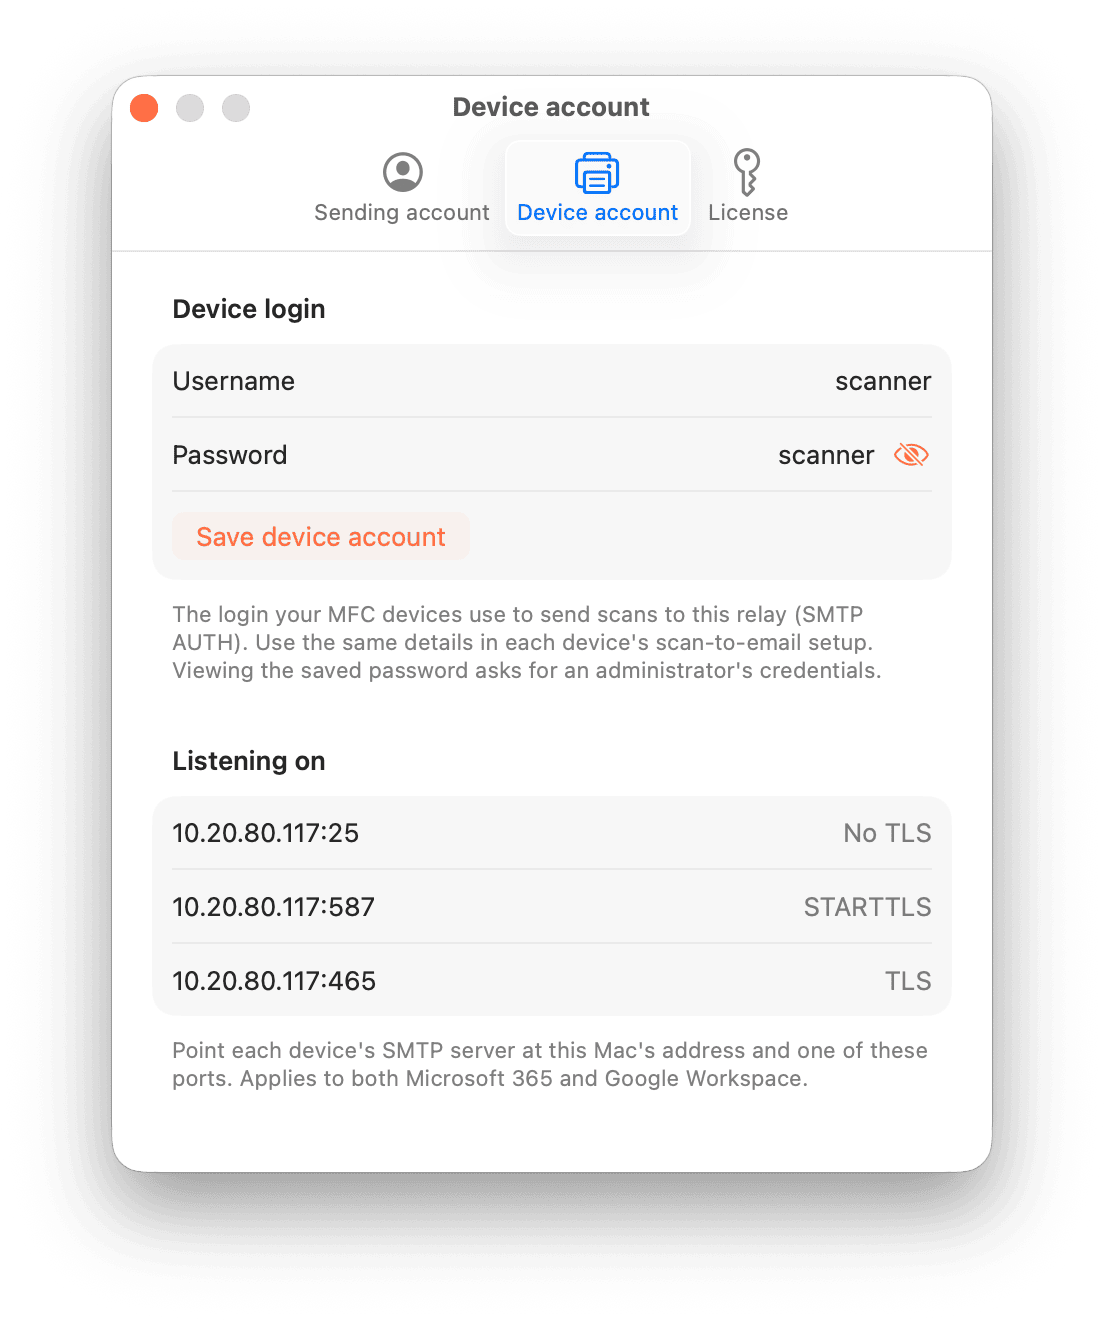
Open Settings, then the Device account tab. Set a username and password for your scanner to use when it connects. This is separate from your mailbox password, and it’s the only credential your device will ever see.
4. Choose a port and connect your device
Point your device’s SMTP (scan-to-email) settings at your Mac’s LAN address, using whichever port matches its capabilities:
| Port | Encryption | Use for |
|---|---|---|
| 25 | None | Older devices with no SSL/TLS support |
| 465 | Implicit TLS | Devices that expect TLS from the first byte |
| 587 | STARTTLS | Most modern MFDs |
Settings shows your Mac’s current LAN address alongside all three ports. If your device insists on validating the certificate, use the Get certificate action in Settings to view the fingerprint, or supply your own certificate if your organisation runs an internal certificate authority.
5. Test it
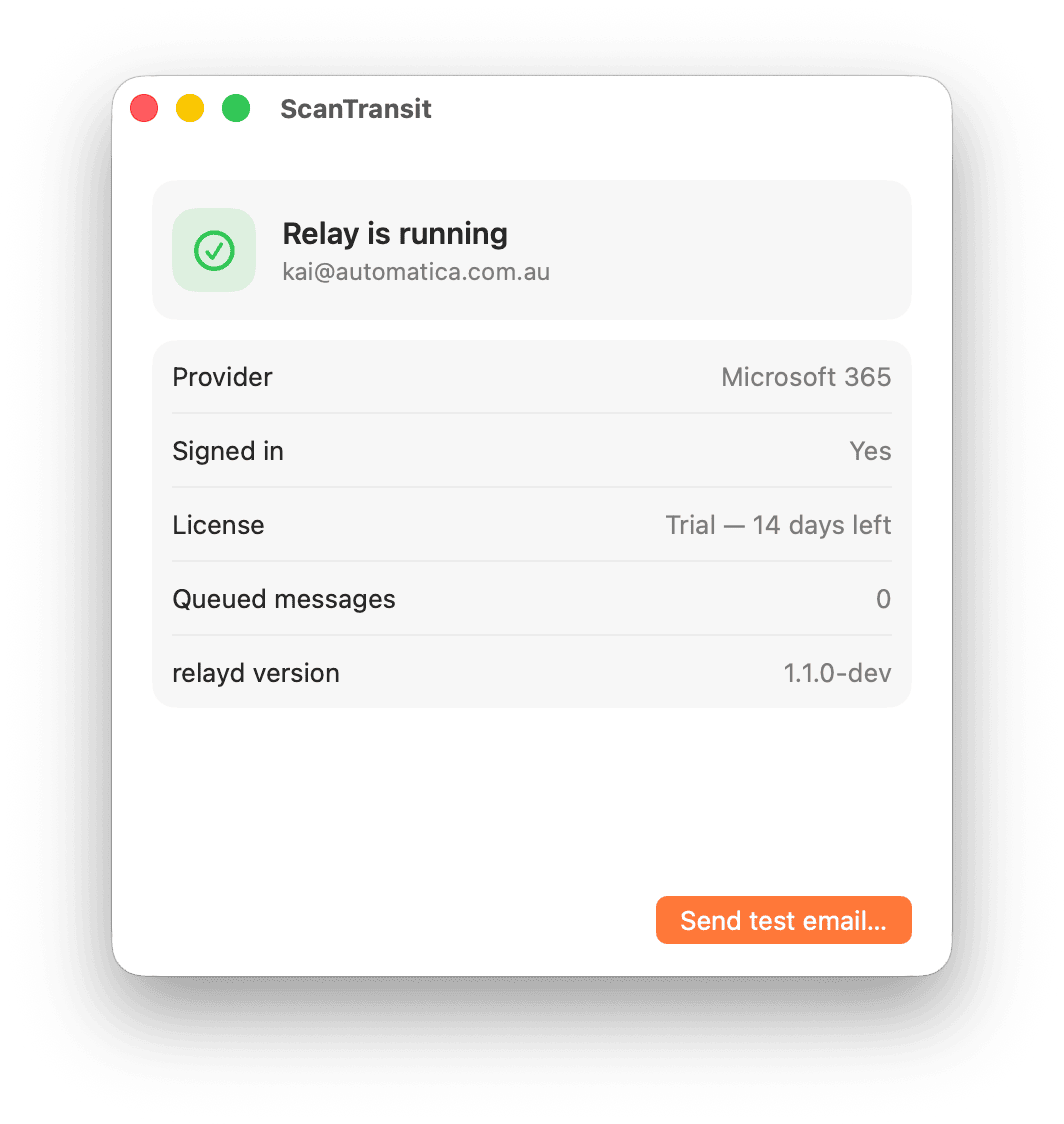
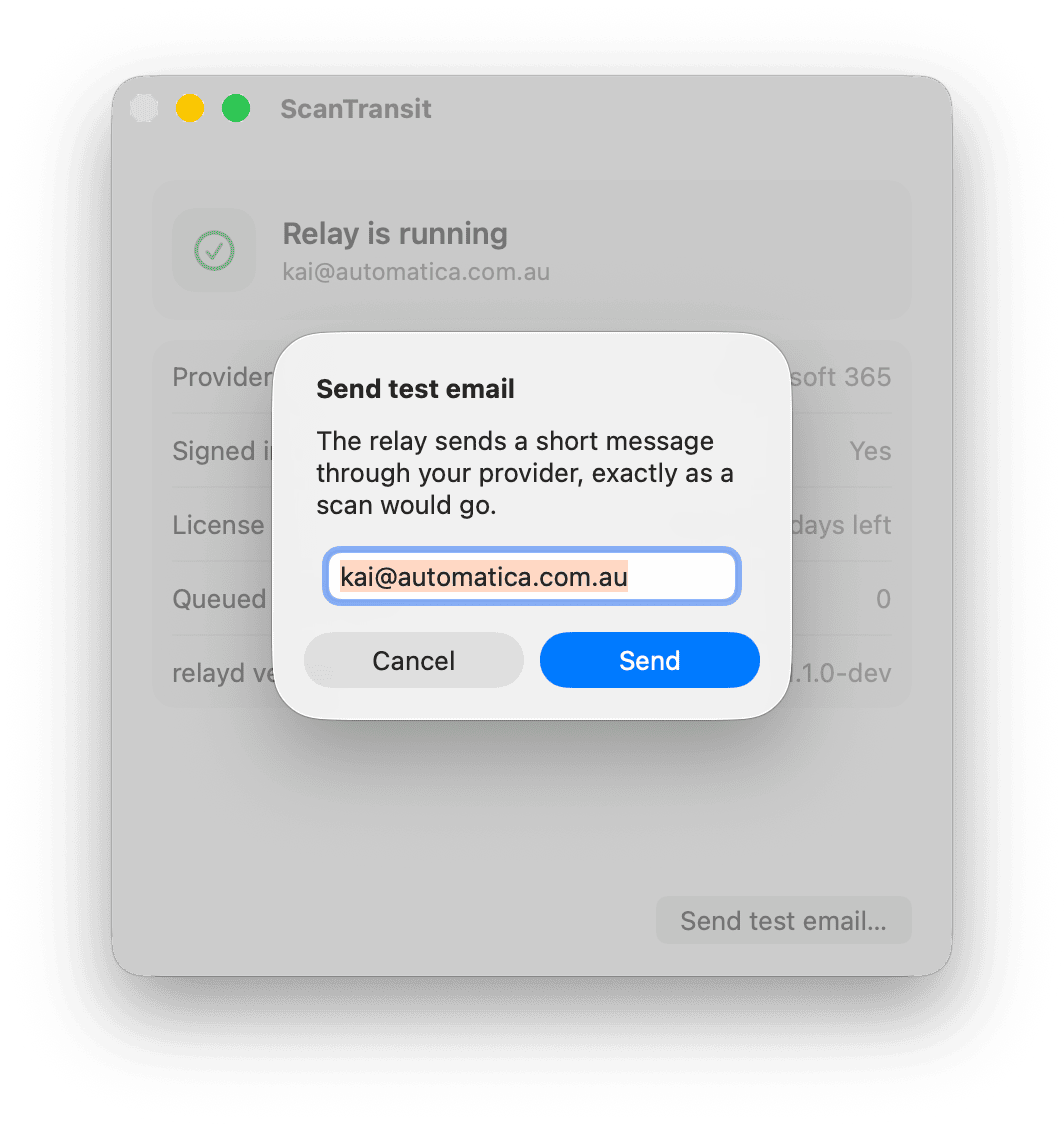
Use Send test email in the ScanTransit main window to confirm mail is delivering before you walk back to the device. Once that succeeds, run a real scan from the device itself.
Keeping it secure
- Bind ScanTransit to your LAN only, and don’t forward its ports through your firewall to the public internet. It’s a submission relay locked to one outbound mailbox, not an open relay, but it should never be internet-facing.
- Treat the Mac running ScanTransit like any other piece of infrastructure: keep macOS up to date, and limit who has administrator access to it, since that access can reveal the device account password.
- If you ever need to see the device password again, for example to configure a second scanner, Settings will prompt for administrator credentials before revealing it.
Troubleshooting
- If a device gets a temporary delivery failure, check that you’re still signed in under Settings → Sending account. ScanTransit queues failed sends and retries automatically once you’re signed in again.
- The main window’s status card always shows the one thing to do next, whether that’s approving the background service, signing in, or checking a failed send.
Sending as a Shared Mailbox (Microsoft 365)
If the address you want ScanTransit to send from is a shared mailbox (or any mailbox without an Exchange Online licence), you can’t sign in as that mailbox directly — shared mailboxes don’t have their own credentials, and an unlicensed account (for example a Global Admin with no mailbox) has nothing to authenticate SMTP with. Instead:
-
Authenticate as a licensed delegate, not the shared mailbox. During the ScanTransit sign-in flow, sign in as a real user who has an Exchange Online mailbox licence, and who has been granted Send As (or Send on Behalf) permission on the shared mailbox. An admin can grant this with:
Add-RecipientPermission -Identity "shared@yourdomain.com" -Trustee "licensed.user@yourdomain.com" -AccessRights SendAs -
Set the “from” address to the shared mailbox, not the signed-in user. ScanTransit sends using whatever address is configured as the sender, so set this to the shared mailbox’s address (
shared@example.com.au). The signed-in delegate’s credentials authorise the send; the shared mailbox address is what recipients see as the sender. -
Enable SMTP AUTH on the shared mailbox specifically, if you don’t want to enable it tenant-wide. Exchange Online increasingly ships with authenticated SMTP disabled by default. Rather than turning it on for every mailbox in the tenant, scope it to just the shared mailbox being sent from:
Set-CASMailbox -Identity "shared@yourdomain.com" -SmtpClientAuthenticationDisabled $falseRun this against the shared mailbox’s UPN — that’s the identity actually being authenticated as during the SMTP session, not the delegate’s own mailbox.
Common error if this is misconfigured:
535 5.7.139 Authentication unsuccessful, SmtpClientAuthentication is disabled for the TenantThis means SMTP AUTH is off tenant-wide or for the target mailbox — fix with the Set-CASMailbox command above, or tenant-wide with Set-TransportConfig -SmtpClientAuthenticationDisabled $false (not recommended unless you need it elsewhere).
A related but different error, 535 5.7.3 Authentication unsuccessful, usually means the signed-in delegate doesn’t have Send As permission on the shared mailbox configured as the sender — double-check step 1.
Need a hand? Get in touch and we’ll help you get it connected.